
Editing, macros & probing
The G-code editor
Put the 3D toolpath next to the editor to see the code and the cut together. Inspect the program and edit it without losing your view of the job.
The editor has a Run from here workflow: select a starting line, confirm it, then press Start when you're ready to begin.
Previewing a job
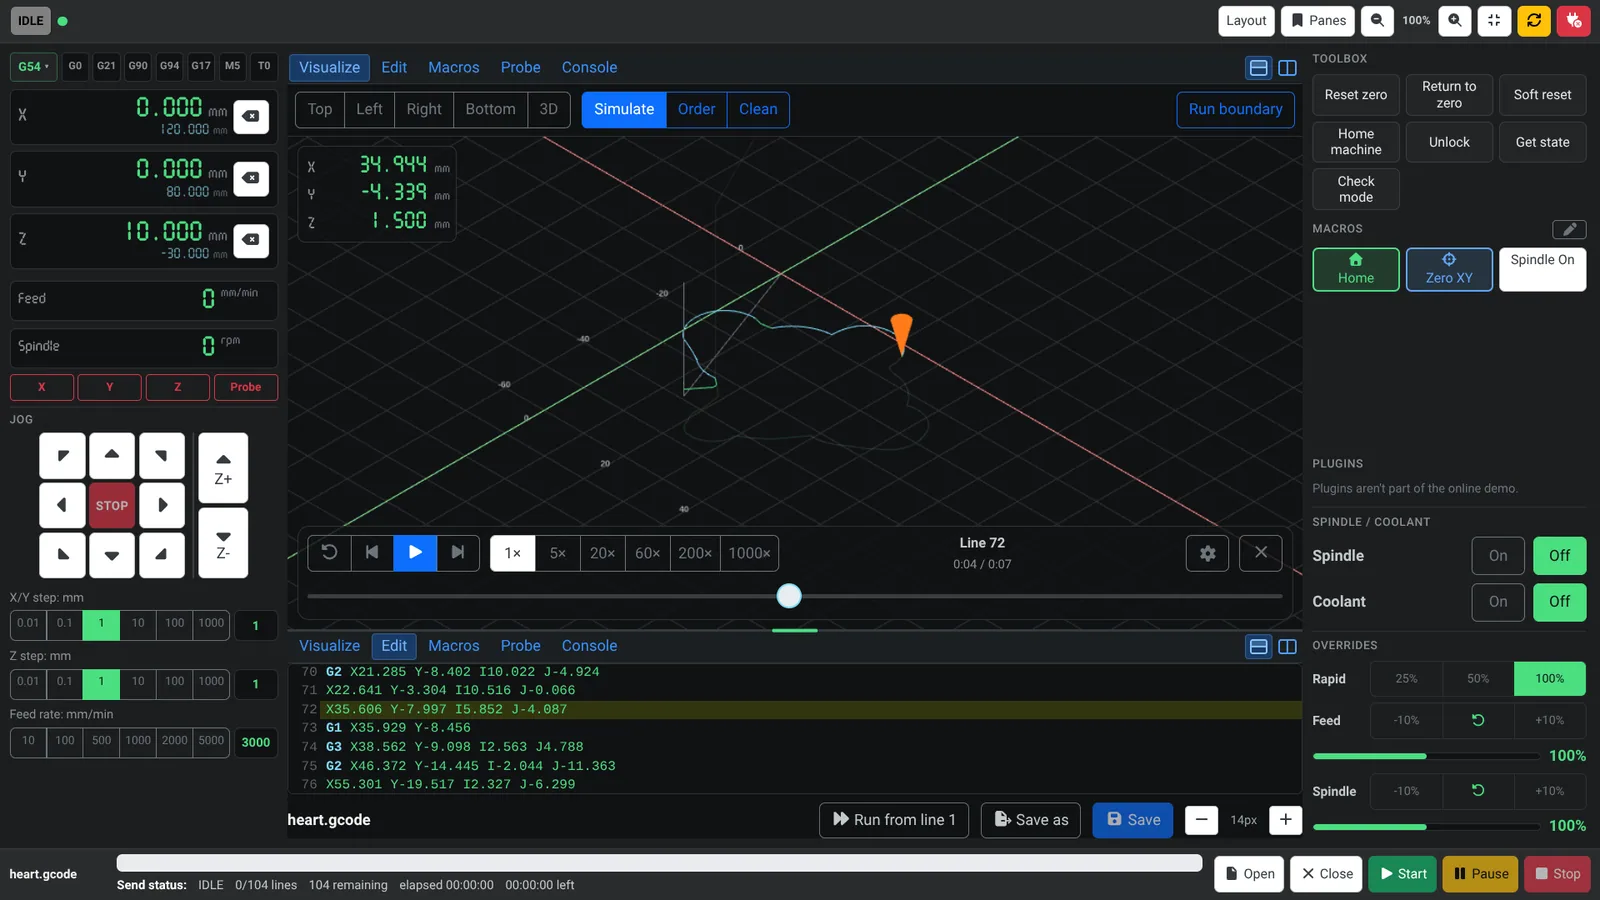
The toolpath viewer can play a job back before you run it. Turn on Simulate to get playback controls, including speeds from 1× to 1000×, a slider to scrub through the job, and a readout of the current line and time. The simulated tool position is shown in the corner while it plays.
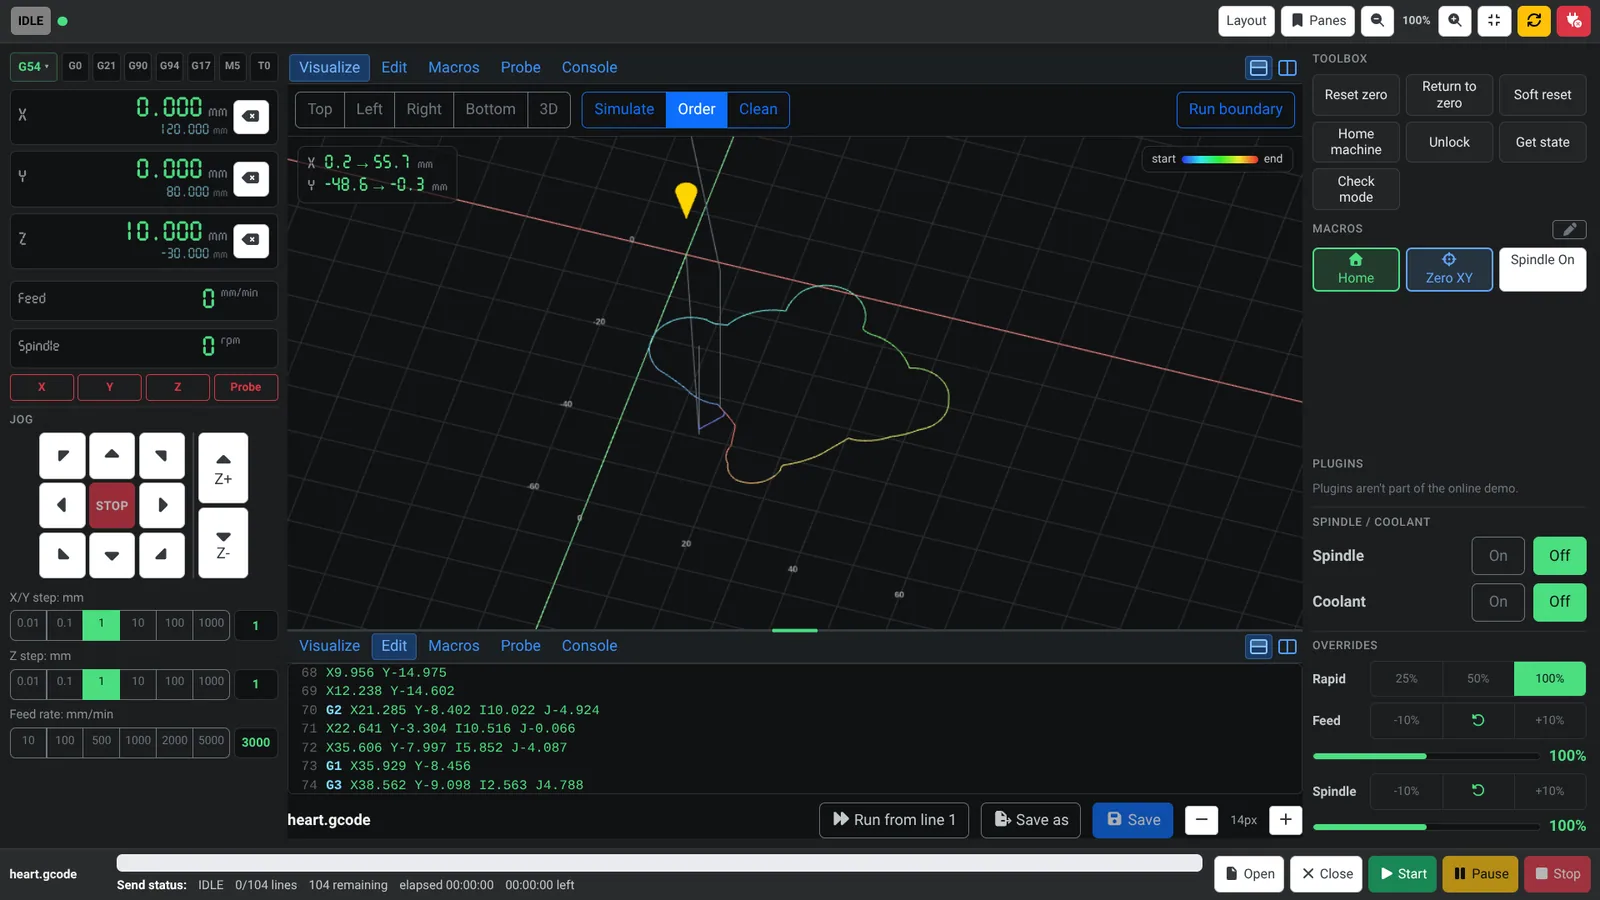
Order colors the path from start to end, so you can check the cutting order at a glance.
Macros
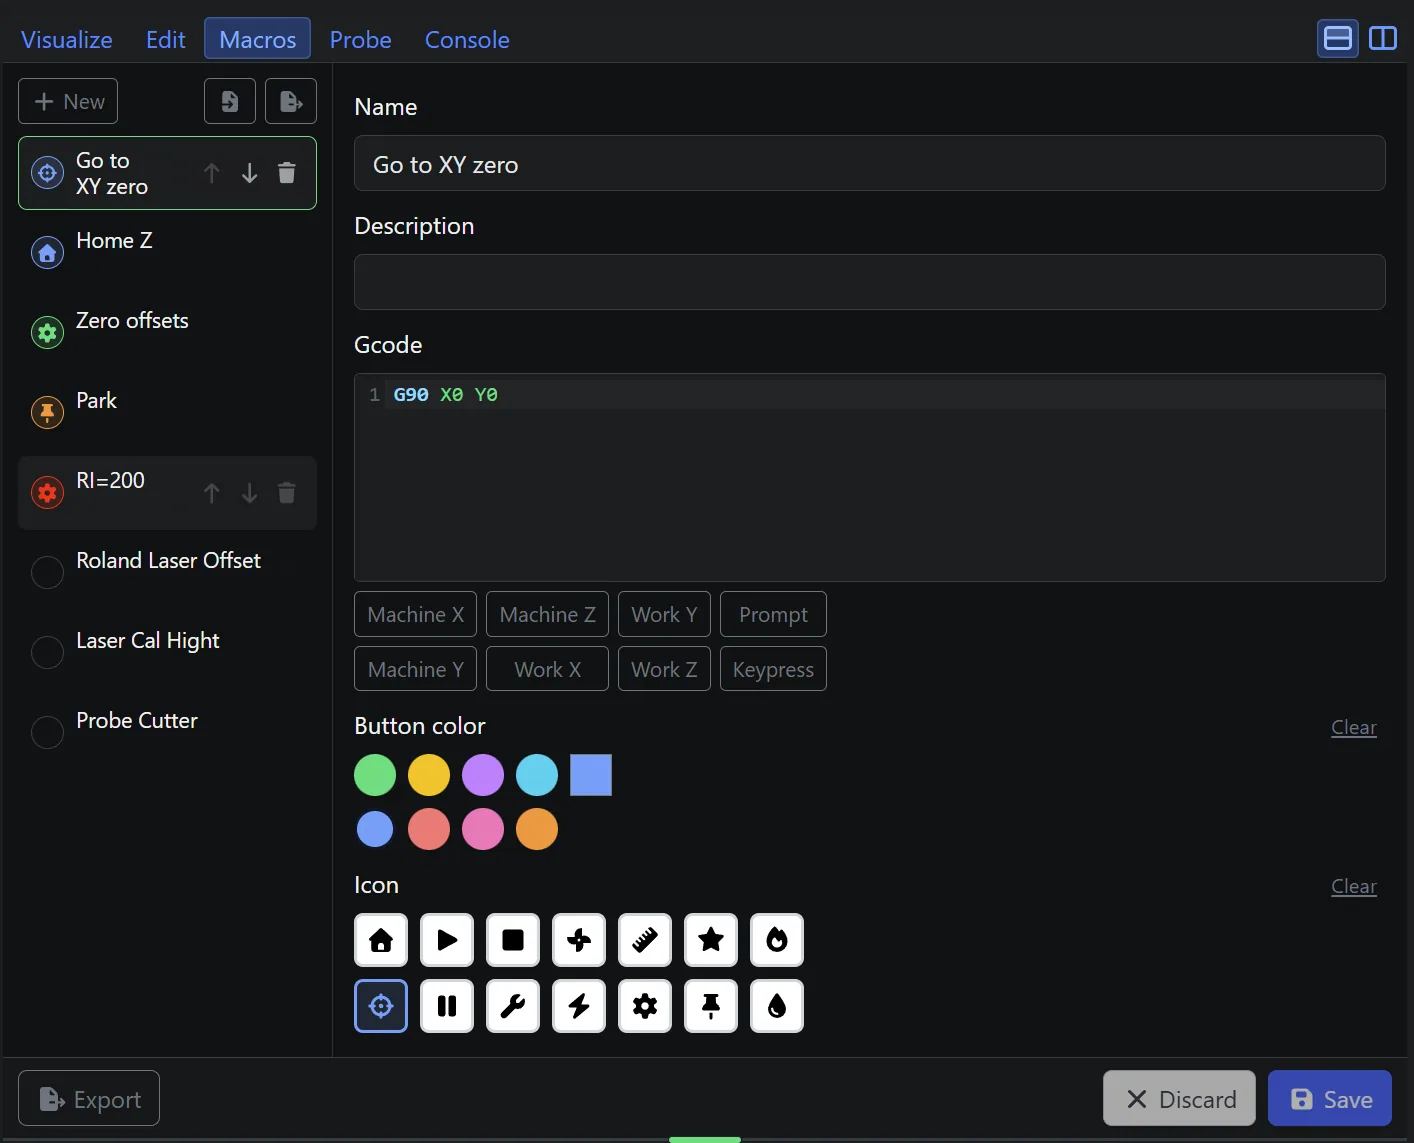
The Dashboard uses UGS's own macros, so the macros you already have in UGS appear here, and anything you create here is available in UGS too. The Dashboard adds extra settings on top of each macro: a button color, an icon, and the order the buttons appear in, so the actions you use most are easy to spot.
Create and edit macros in a dedicated editor with syntax highlighting, descriptions, and shortcuts for inserting UGS macro expressions such as machine and work coordinates, prompts and keypresses. You can reorder macros, export a single macro or the whole list, and import a saved list.
Files
Open files from your UGS workspace, search across its folders, and sort by name or modification time. Save As lets you browse folders, create a new one and see existing filenames before you save. Open and Save As remember the last workspace folder you used.
Probing
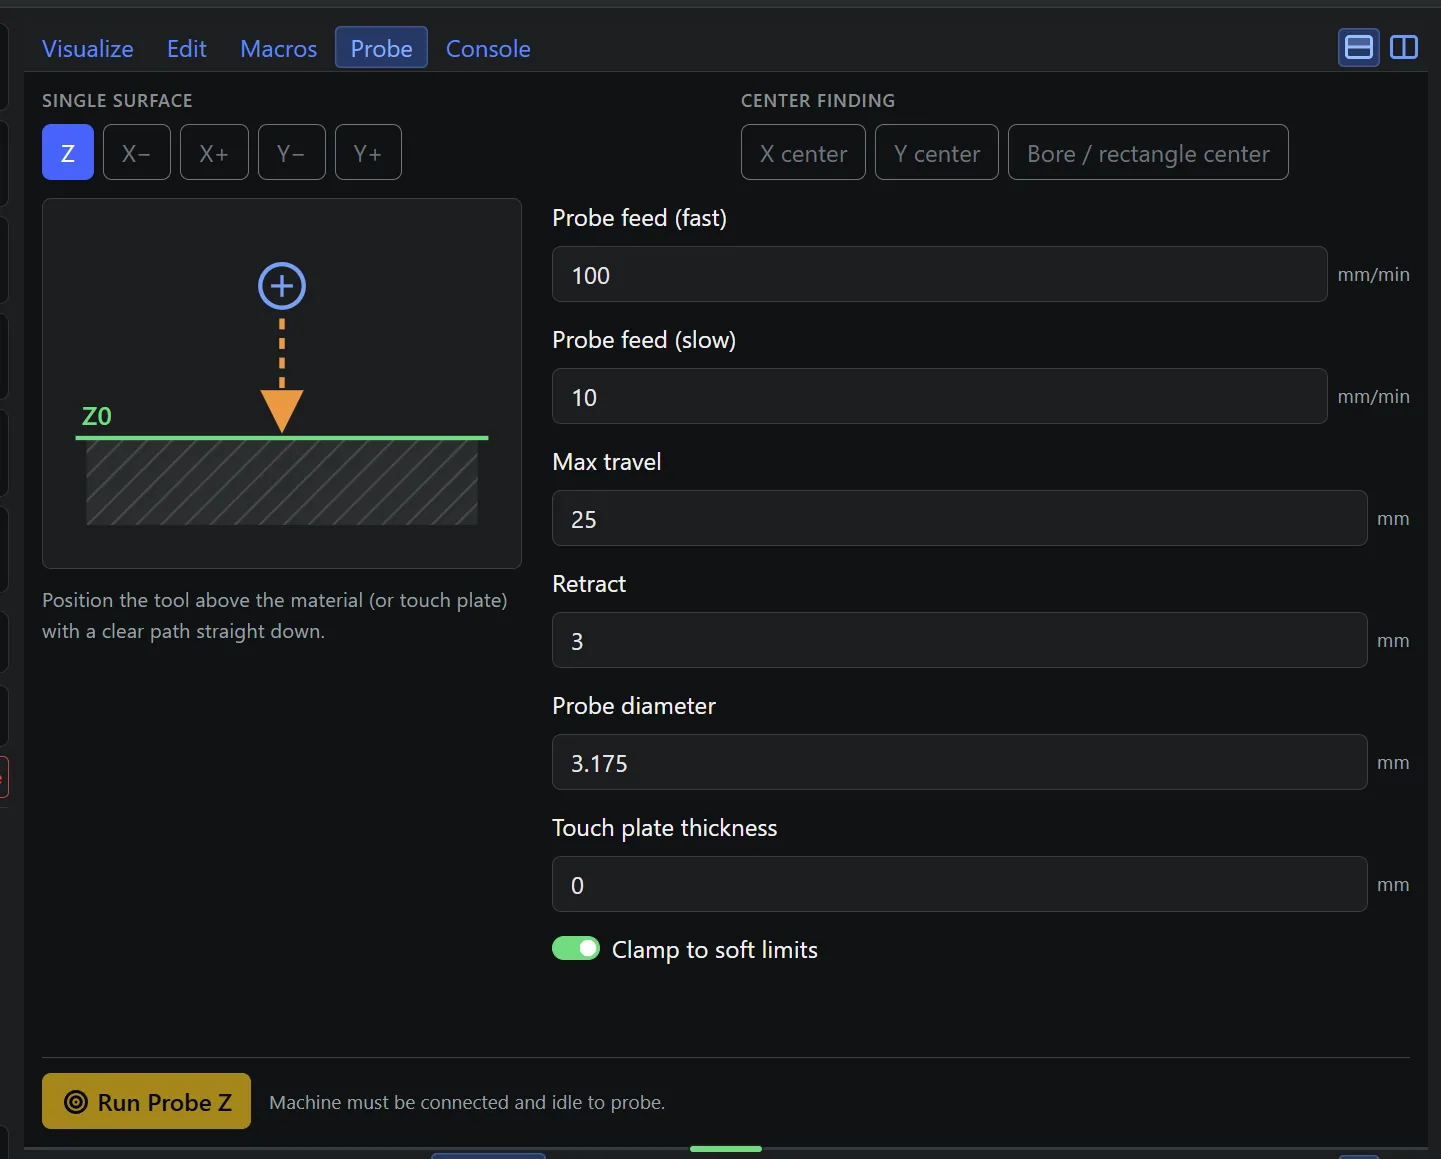
The Probe panel includes Z touch-off, X/Y surface probing and center-finding, with a diagram and controls for feed rates, travel, retract, probe diameter and plate thickness. There is also a Clamp to soft limits switch. Which operations are available depends on your controller and setup.
Check before you probe
Probing moves the machine. Confirm the probe is connected and the travel distances are safe before you start. The panel reminds you that the machine must be connected and idle to probe.