
Using plugins
Plugins are small tools written in HTML, CSS and JavaScript. Each one opens in its own floating, draggable, resizable window, so a custom tool can sit alongside the job you're working on.
Install a plugin
Copy the plugin's folder into the
dashboard-pluginsfolder on the computer running UGS:Operating system Plugin folder Windows %USERPROFILE%\.ugs\dashboard-plugins\Linux ~/.ugs/dashboard-plugins/macOS ~/Library/Preferences/ugs/dashboard-plugins/Reload the Dashboard in your browser.
Open the Machine / Macros view and choose the plugin under Plugins.
No rebuild or restart of UGS is needed. A plugin's own settings are saved on the UGS computer, so they are shared by every device that opens the Dashboard.
Only install plugins you trust
Plugins run in a sandbox, but the API they use can send commands to your machine and overwrite the loaded G-code file. Read a plugin's code, or get it from someone you trust, before you install it.
Example plugins
These live in the fork's ugs-pendant/examples folder:
| Plugin | What it does |
|---|---|
| Job Inspector | Shows machine state and counts the lines in the loaded job. The starter used in the developer guide. |
| Nesting | Packs requested copies of several G-code parts onto a sheet using their outer shapes, then writes a new program. It never sends machine commands or starts a job. |
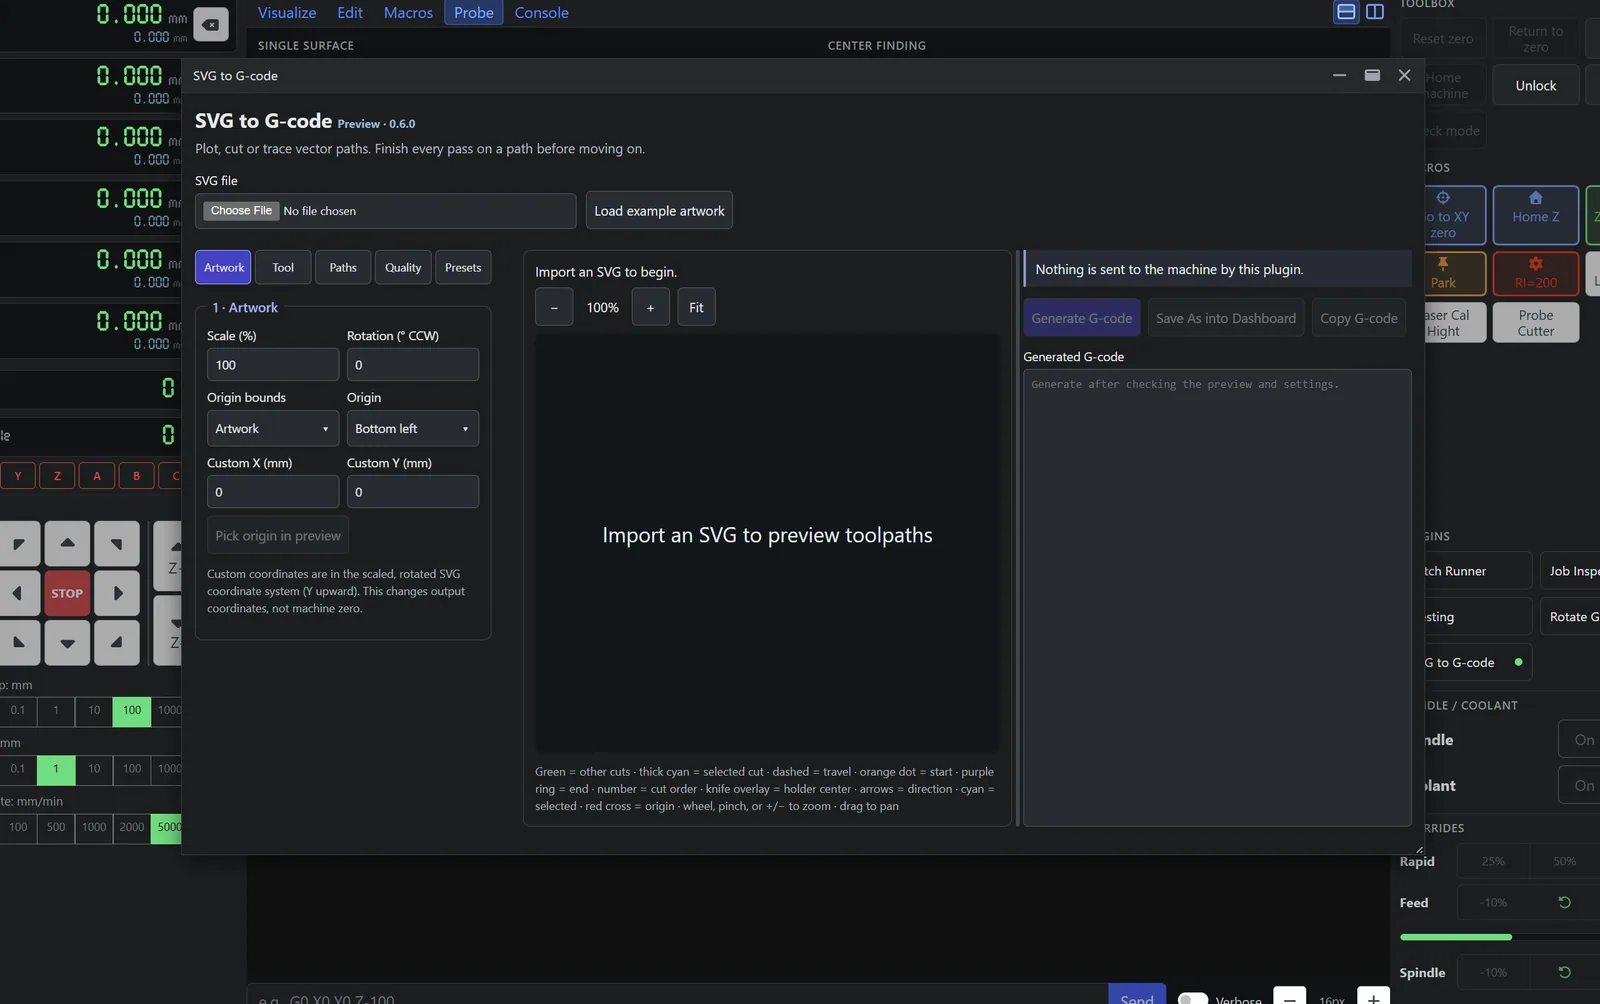
| SVG to G-code | Previews and generates plotter, drag-knife and laser paths from SVG artwork. |
Write your own
If you know a little HTML and JavaScript, the developer guide walks through a complete starter plugin and documents the whole API.